Flet controls
User interface is made of Controls (aka widgets). To make controls visible to a user they must be added to a Page or inside other controls. Page is the top-most control. Nesting controls into each other could be represented as a tree with Page as a root.
Controls are just regular Python classes. Create control instances via constructors with parameters matching their properties, for example:
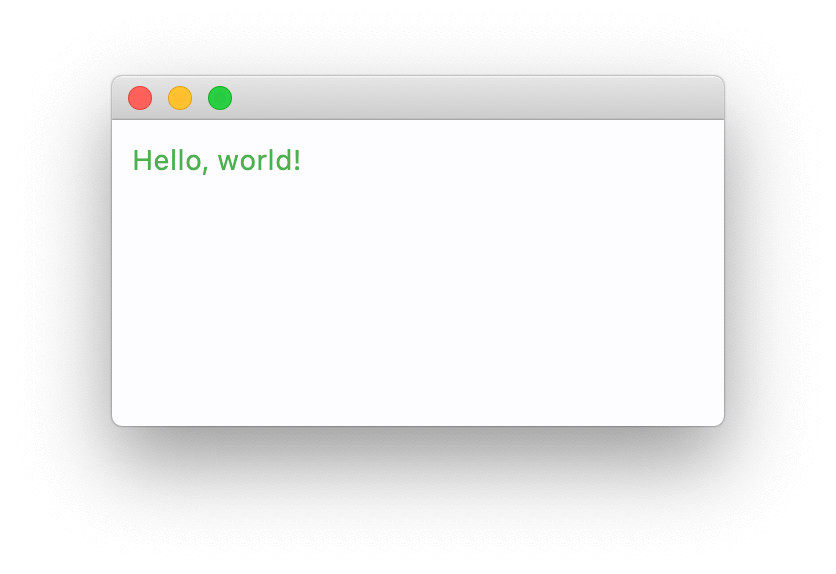
t = ft.Text(value="Hello, world!", color="green")
To display control on a page add it to controls list of a Page and call page.update() to send page changes to a browser or desktop client:
import flet as ft

def main(page: ft.Page):
    t = ft.Text(value="Hello, world!", color="green")
    page.controls.append(t)
    page.update()

ft.app(main)
In the following examples we will be showing just the contents of main function.
You can modify control properties and the UI will be updated on the next page.update():
t = ft.Text()
page.add(t) # it's a shortcut for page.controls.append(t) and then page.update()

for i in range(10):
    t.value = f"Step {i}"
    page.update()
    time.sleep(1)
Some controls are "container" controls (like Page) which could contain other controls. For example, Row control allows arranging other controls in a row one-by-one:
page.add(
    ft.Row(controls=[
        ft.Text("A"),
        ft.Text("B"),
        ft.Text("C")
    ])
)
or TextField and ElevatedButton next to it:
page.add(
    ft.Row(controls=[
        ft.TextField(label="Your name"),
        ft.ElevatedButton(text="Say my name!")
    ])
)
page.update() is smart enough to send only the changes made since its last call, so you can add a couple of new controls to the page, remove some of them, change other controls' properties and then call page.update() to do a batched update, for example:
for i in range(10):
    page.controls.append(ft.Text(f"Line {i}"))
    if i > 4:
        page.controls.pop(0)
    page.update()
    time.sleep(0.3)
Some controls, like buttons, could have event handlers reacting on a user input, for example ElevatedButton.on_click:
def button_clicked(e):
    page.add(ft.Text("Clicked!"))

page.add(ft.ElevatedButton(text="Click me", on_click=button_clicked))
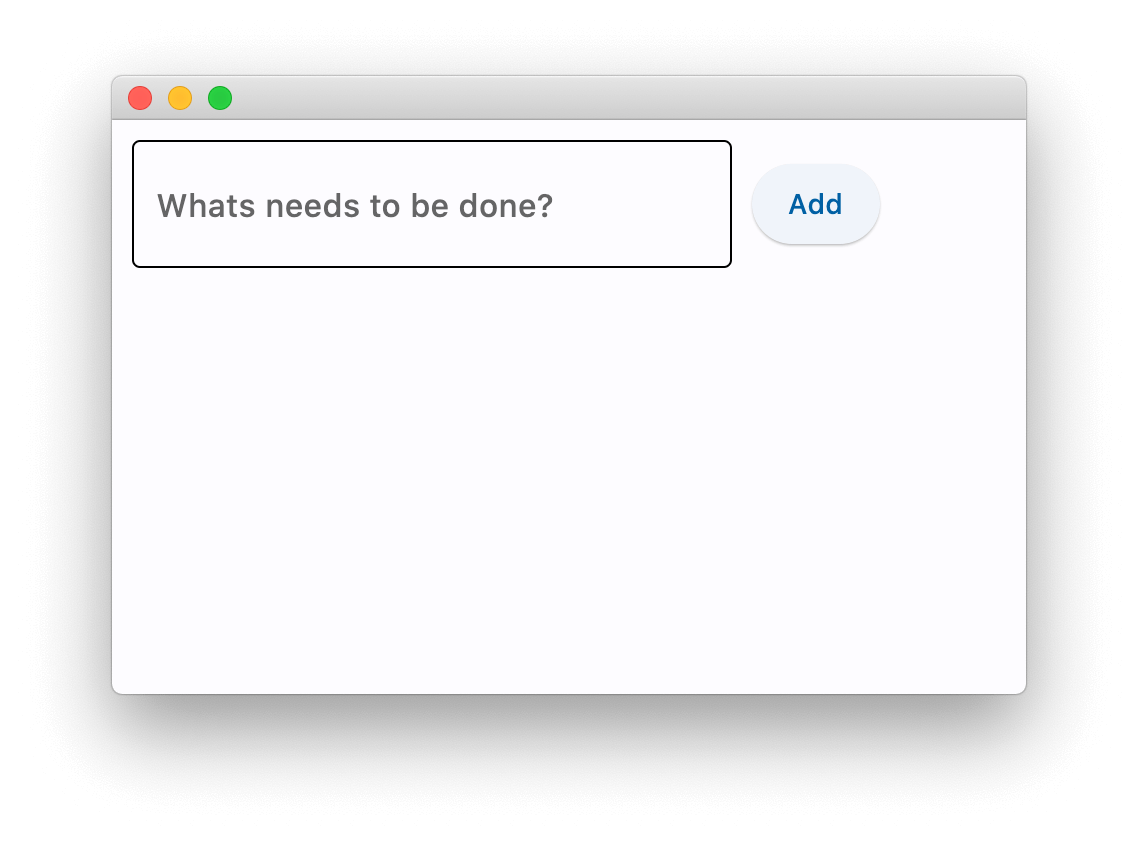
and more advanced example for a simple To-Do:
import flet as ft

def main(page):
    def add_clicked(e):
        page.add(ft.Checkbox(label=new_task.value))
        new_task.value = ""
        new_task.focus()
        new_task.update()

    new_task = ft.TextField(hint_text="What's needs to be done?", width=300)
    page.add(ft.Row([new_task, ft.ElevatedButton("Add", on_click=add_clicked)]))

ft.app(main)
Flet implements imperative UI model where you "manually" build application UI with stateful controls and then mutate it by updating control properties. Flutter implements declarative model where UI is automatically re-built on application data changes. Managing application state in modern frontend applications is inherently complex task and Flet's "old-school" approach could be more attractive to programmers without frontend experience.
visible property
Every control has visible property which is true by default - control is rendered on the page. Setting visible to false completely prevents control (and all its children if any) from rendering on a page canvas. Hidden controls cannot be focused or selected with a keyboard or mouse and they do not emit any events.
disabled property
Every control has disabled property which is false by default - control and all its children are enabled.
disabled property is mostly used with data entry controls like TextField, Dropdown, Checkbox, buttons.
However, disabled could be set to a parent control and its value will be propagated down to all children recursively.
For example, if you have a form with multiple entry control you can set disabled property for each control individually:
first_name = ft.TextField()
last_name = ft.TextField()
first_name.disabled = True
last_name.disabled = True
page.add(first_name, last_name)
or you can put form controls into container, e.g. Column and then set disabled for the column:
first_name = ft.TextField()
last_name = ft.TextField()
c = ft.Column(controls=[
    first_name,
    last_name
])
c.disabled = True
page.add(c)
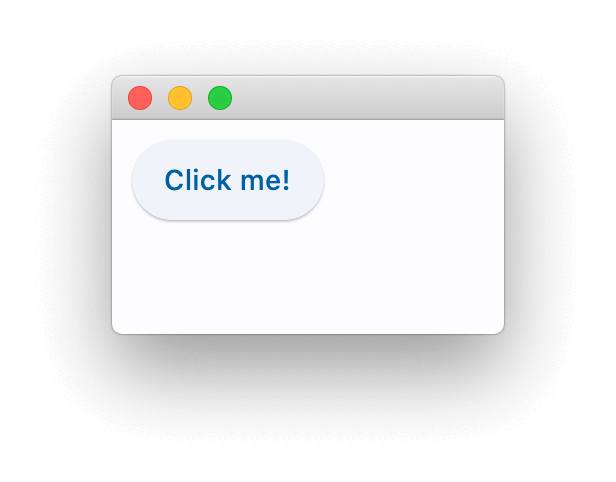
Buttons
Button is the most essential input control which generates click event when pressed:
btn = ft.ElevatedButton("Click me!")
page.add(btn)
All events generated by controls on a web page are continuously sent back to your script, so how do you respond to a button click?
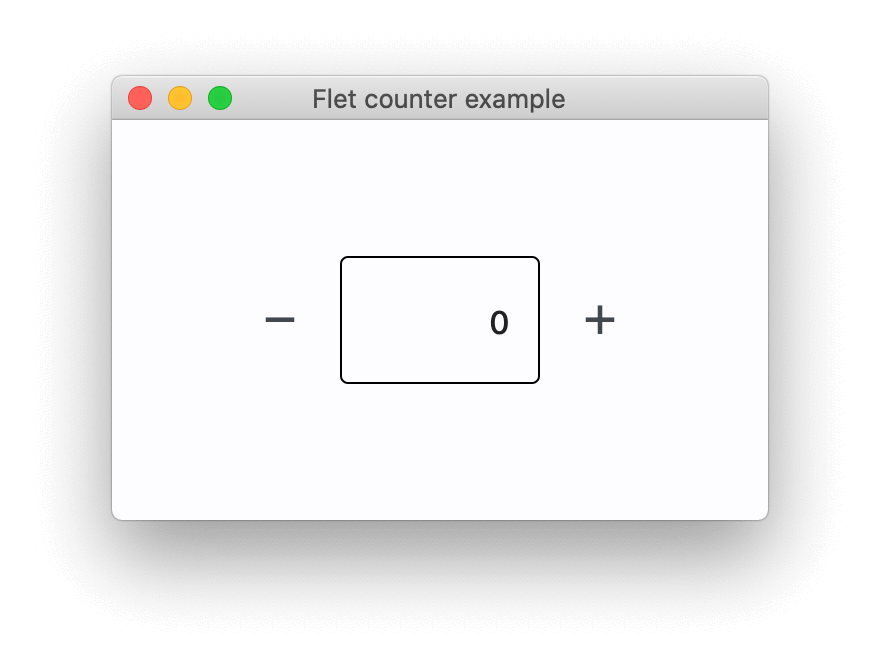
Event handlers
Buttons with events in "Counter" app:
import flet as ft

def main(page: ft.Page):
    page.title = "Flet counter example"
    page.vertical_alignment = ft.MainAxisAlignment.CENTER

    txt_number = ft.TextField(value="0", text_align="right", width=100)

    def minus_click(e):
        txt_number.value = str(int(txt_number.value) - 1)
        page.update()

    def plus_click(e):
        txt_number.value = str(int(txt_number.value) + 1)
        page.update()

    page.add(
        ft.Row(
            [
                ft.IconButton(ft.Icons.REMOVE, on_click=minus_click),
                txt_number,
                ft.IconButton(ft.Icons.ADD, on_click=plus_click),
            ],
            alignment=ft.MainAxisAlignment.CENTER,
        )
    )

ft.app(main)
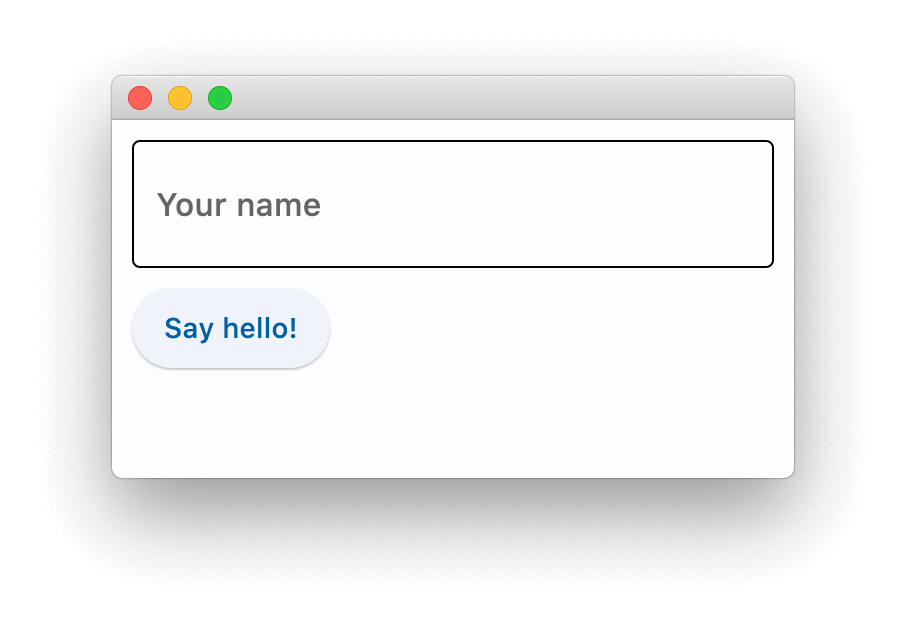
Textbox
Flet provides a number of controls for building forms: TextField, Checkbox, Dropdown, ElevatedButton.
Let's ask a user for a name:
import flet as ft

def main(page):
    def btn_click(e):
        if not txt_name.value:
            txt_name.error_text = "Please enter your name"
            page.update()
        else:
            name = txt_name.value
            page.clean()
            page.add(ft.Text(f"Hello, {name}!"))

    txt_name = ft.TextField(label="Your name")

    page.add(txt_name, ft.ElevatedButton("Say hello!", on_click=btn_click))

ft.app(main)
Checkbox
The Checkbox control provides you with various properties and events emmiters for ease of use.
Let's create a one checkbox ToDo:
import flet as ft


def main(page):
    def checkbox_changed(e):
        output_text.value = (
            f"You have learned how to ski :  {todo_check.value}."
        )
        page.update()

    output_text = ft.Text()
    todo_check = ft.Checkbox(label="ToDo: Learn how to use ski", value=False, on_change=checkbox_changed)
    page.add(todo_check, output_text)

ft.app(main)

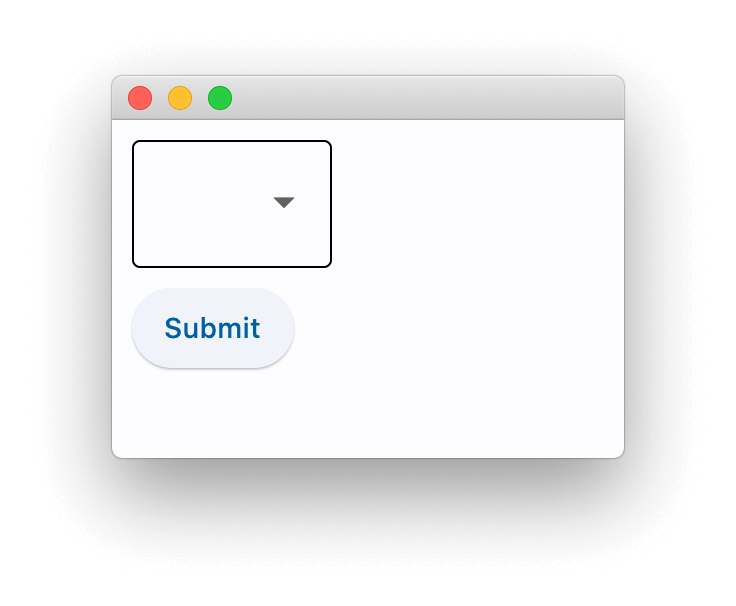
Dropdown
import flet as ft


def main(page: ft.Page):
    def button_clicked(e):
        output_text.value = f"Dropdown value is:  {color_dropdown.value}"
        page.update()

    output_text = ft.Text()
    submit_btn = ft.ElevatedButton(text="Submit", on_click=button_clicked)
    color_dropdown = ft.Dropdown(
        width=100,
        options=[
            ft.dropdown.Option("Red"),
            ft.dropdown.Option("Green"),
            ft.dropdown.Option("Blue"),
        ],
    )
    page.add(color_dropdown, submit_btn, output_text)

ft.app(main)