Hosting Flet website on Cloudflare
This guide provides the instructions for hosting Flet static website on Cloudflare.
Before we get to the deployment, you will need an account. Get one from here, or simply login if you already have one. After signing up, you will have to verify your email address by clicking the link you will receive in your email. Check the spams too, if you don’t get it in your inbox.
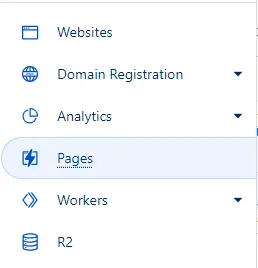
In your account, from the side menu, select "Pages" as shown below:
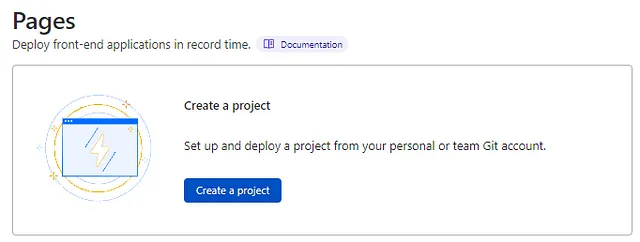
And from there, select the “Create a project” button:
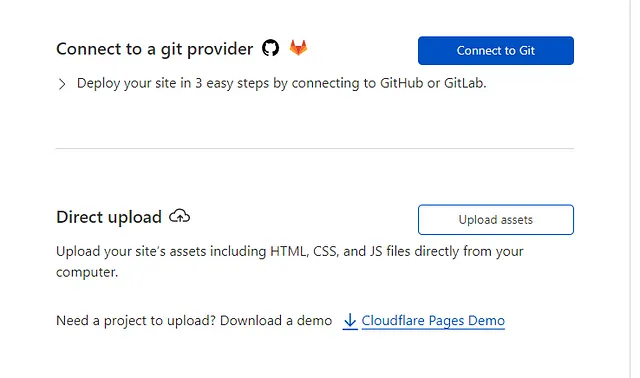
Cloudflare proposes three ways to create a project. Only the first two will be exposed here:
- Connect to a git provider
- Direct upload
Connecting to a Git provider
This method works for flet publish command only.
For this, you will need to have a GitHub or GitLab account. In this account should be the repository you plan to use. An example could be found in this repo.
Click on the “Connect to Git” blue button:
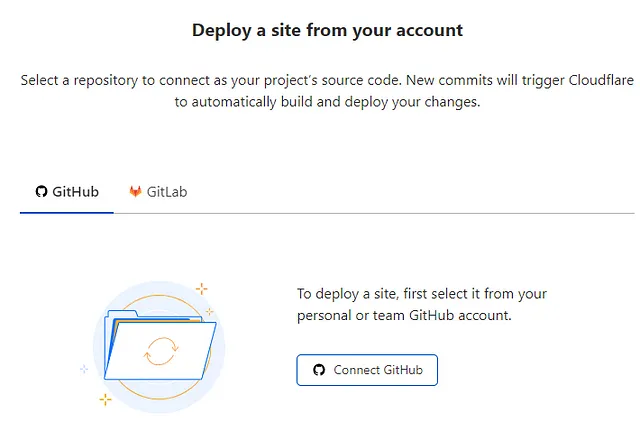
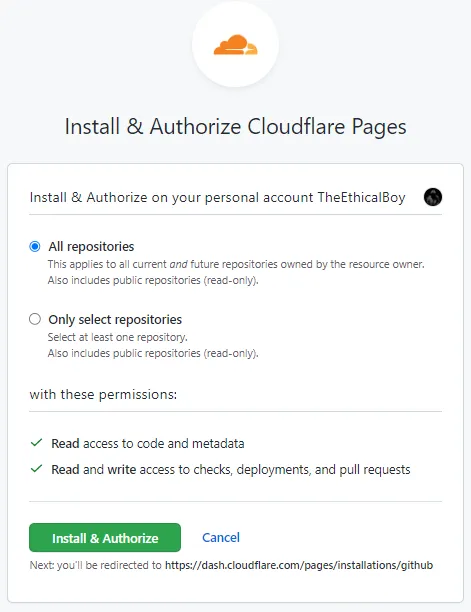
From there, select the tab with the service containing your repository. Then, connect your account. Select one of the suggested options, then click on “Install & Authorize”.
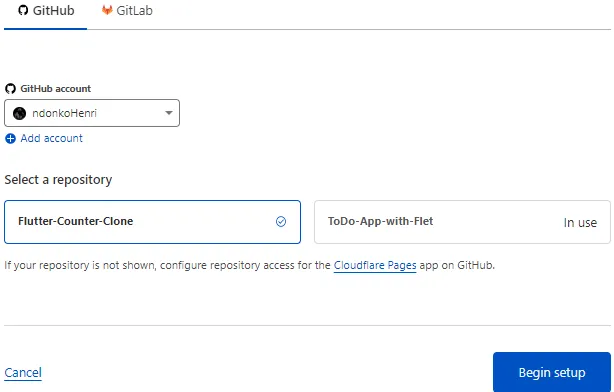
Choose the repository to be used, and press on the “Begin setup” button.
Before moving on, add a runtime.txt file in your repo. It should contain the python version to be used. In the file enter 3.7 which is the latest python version Cloudflare uses at time of writing.
Here is an example from the repo above.
Having this done, we can now move to the next step which will be to configure some build and deployment settings for your site.
Set the name of your project, and the production branch to be used. The production branch is simply the branch of your repo to which any push of a commit will automatically trigger a deployment to your production environment. Pushes to your other branches will trigger deployment instead to your preview environment.
After setting these two, jump down to the “Build settings” section where we will be setting up the build instructions.
Skip the “Framework preset” (allow None) because Flet is neither in the list nor a JavaScript framework :)
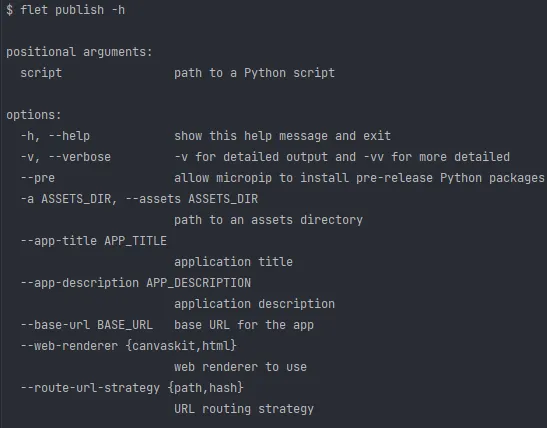
The “Build command” depends on your application's structure. Follow the guide in the sections above to come up with your custom build command.
When the build command is ran by flet, a folder named ‘dist’ is created which will contain all the web files required by Cloudflare pages. Set it as your output directory. Note that this file will not be added to your repository, because Cloudflare only has read access to your code.
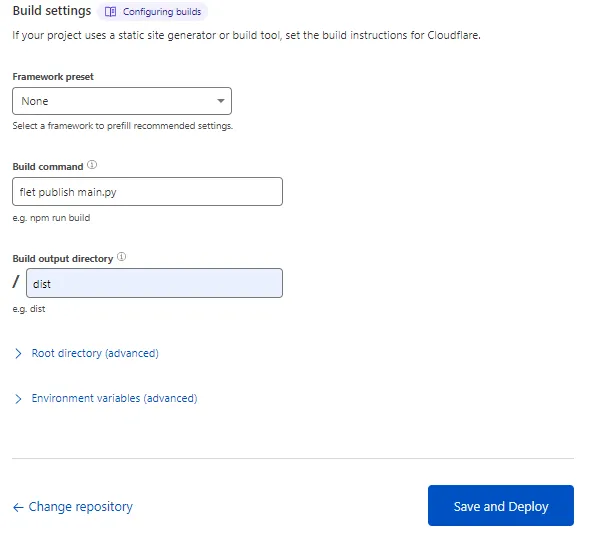
You could optionally specify advanced parameters: the root directory (the directory in which Cloudflare runs the build command), and Environment variables (variables to be used during build time). Now, click on the “Save and Deploy” button and let Cloudflare do the remaining job for you.
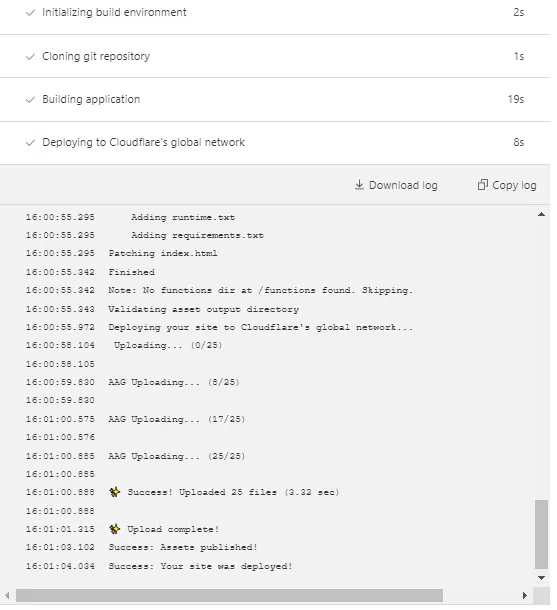
Click on the URL that will be shown to move to your deployed site.

If when opening the site you see a Cloudflare error, it means they haven’t completely finished the setup. So, simply wait for a minute then refresh the page, and you will see your application running. Test the above deployed site here.
Direct Upload
This method works for both flet build web and flet publish commands.
Click on “Upload assets”. In step one, give your project a name. Remember that the name you will give will be used to determine the link to which your project will be deployed to.
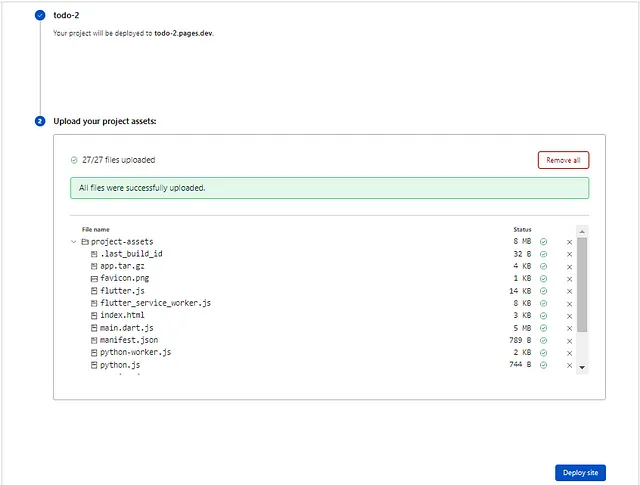
The second step requires you to upload your project’s assets, either as folder or a zip file (with all the assets inside). If you already have one of them, then use the drag-and-drop or select them using the folder picker.
If you don’t yet have these assets but already have an app you've built, use the flet publish command in the directory containing your app files, and a dist folder will be created which you will then upload to Cloudflare pages as mentioned above.
After the upload press on “Deploy site” button at the bottom.
You will then see a success message with a link to your deployed website. Test an example of a deployed site here.
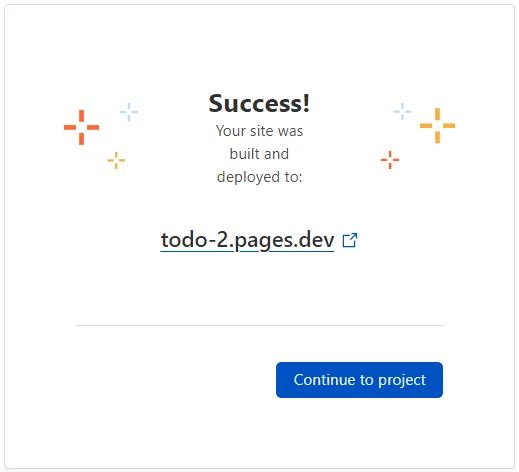
If when opening the site you see a Cloudflare error, it means they haven’t completely finished the setup. So, simply wait for a minute then refresh the page, and you will see your application running. You can now click on the “Continue to project” button to monitor your deployments, or create new ones following the same steps above.
Troubleshooting
When Flet app is running in a web browser all its print() statements are displayed in "Console" tab of Developer Tools in a browser. print() can be used as a simple debugging tool.
You can also use logging module and output messages to Console with different severity.
To enable detailed Flet logging add this to your program:
import logging
logging.basicConfig(level=logging.DEBUG)