Introducing Declarative UI in Flet

Flet 1.0 is about more than a facelift. Our goal is to help Python developers build production-grade apps that scale from a handful of screens to hundreds of pages, views, and dialogs.
Dogfooding Flet — building our own products like the Flet mobile app and the Control Gallery — made it clear that the imperative approach becomes hard to manage as apps grow.
That’s why Flet 1.0 introduces a declarative approach alongside the existing imperative API, drawing inspiration from frameworks such as React, SwiftUI, and Jetpack Compose.
Here's a quick look at a counter app written declaratively:
import flet as ft

@ft.component
def App():
    count, set_count = ft.use_state(0)

    return ft.Row(
        controls=[
            ft.Text(value=f"{count}"),
            ft.Button("Add", on_click=lambda: set_count(count + 1)),
        ],
    )

ft.run(lambda page: page.render(App))
Keep reading to see how it works and how you can start using it today.
What is imperative UI
Imperative UI is when you tell the framework exactly how to build and update the interface step by step. You manipulate the UI directly — create controls, change their properties, insert or remove them in response to user actions.
For example, in an imperative style you might write:
“Create a button, then when it's clicked, change the label's text and move it below the image.”
left_column.visible = False
right_column.visible = True
right_column.controls.append(ft.Text("Complete!"))
Flet has championed imperative UI from the beginning, and we still believe it is a valid and straightforward approach — especially for small apps or developers without frontend experience.
The problem with the imperative approach, though, is that the app's state, logic, and UI all live in the same place. You constantly have to synchronize the app state and every UI element that depends on it. Add a new user to a list? You also have to add a corresponding ft.Row to display that record. As your app grows, the number of spots that must stay synchronized grows exponentially.
What is declarative UI
The declarative approach means you describe what the UI should look like for a given state, not how to build or update it. Instead of manually creating, changing, or removing controls, you write a function that returns the UI structure based on current data — and the framework figures out the minimal updates needed to make it real.
In other words, your UI becomes a pure expression of state: whenever the state changes, the framework re-renders the view so it always stays consistent.
UI = f(state)
This makes the code simpler, more predictable, and easier to reason about.
Declarative Hello World
Here's a simple declarative "Hello, world" Flet app:
import flet as ft

def App():
    return ft.Text("Hello, world!")

ft.run(lambda page: page.render(App))
Your app must be declarative from top to bottom, similar to how async code needs to remain async all the way. The new page.render() bootstrap method makes that possible.
For clarity, without using lambdas, the code can be rewritten as:
@ft.component
def App():
    return ft.Text("Hello, Flet!")

def main(page: ft.Page):
    page.render(App)

ft.run(main)  # as before
This app does nothing fancy — it simply displays the message and does not respond to user actions in any way.
Declarative Counter
Here's a simple declarative "counter" Flet app:
import flet as ft

@ft.component
def App():
    count, set_count = ft.use_state(0)

    return ft.Row(
        controls=[
            ft.Text(value=f"{count}"),
            ft.Button("Add", on_click=lambda: set_count(count + 1)),
        ],
    )

ft.run(lambda page: page.render(App))
You may notice a couple of new ideas here: the @component decorator and the use_state() hook — we explain both shortly.
The takeaway is that the App function is a component that returns a fresh UI (Row) every time the app's state changes.
Components
In Flet's declarative approach, a component is simply a reusable function that describes a piece of UI as a function of state.
You can think of it as a self-contained unit that takes inputs (properties, data, event handlers) and returns Flet controls — like Column, Text, Button, etc. Every time its inputs or internal state change, the component rebuilds its UI, and Flet automatically updates only the changed parts.
Example:
@ft.component
def Counter(value, on_increment):
    return ft.Row([
        ft.Text(f"Count: {value}"),
        ft.Button("Increment", on_click=on_increment)
    ])
Use the @component decorator to mark a function as a component.
Controls vs Components
A control is a UI element — the basic building block rendered on screen.
It's a concrete thing like a Text, Button, Row, or Column. Controls have properties (e.g., text, color, alignment) and can contain child controls.
Example:
ft.Text("Hello")
ft.Button("Click me")
ft.Column([ft.Text("A"), ft.Text("B")])
A component is a piece of logic that builds and returns controls. It's not rendered directly — instead, it describes how to create controls based on inputs or state. Components let you group logic, reuse UI patterns, and define your own higher-level abstractions.
Example:
@ft.component
def Greeting(name):
    return ft.Text(f"Hello, {name}!")
Here Greeting() is a component, and ft.Text is a control.
You can combine controls inside components, and combine components to form bigger ones — but only controls end up in the final UI tree that Flet renders.
Hooks
Hooks are lightweight functions that let components store state, react to lifecycle events, or access shared context — all without writing classes or managing manual state objects.
Example:
@ft.component
def Counter():
    count, set_count = ft.use_state(0)

    return ft.Row(
        controls=[
            ft.Text(value=f"{count}"),
            ft.Button("Add", on_click=lambda: set_count(count + 1)),
        ],
    )
Here:
- The
Counter()component reads like a simple function. use_state(0)gives it persistent state.- When
set_count()is called, Flet re-runs the component and re-renders only what changed.
That persistence is crucial: ordinary local variables are re-created on every render, so their values would disappear. Hook state survives re-renders, giving your functional components memory without resorting to globals or classes.
To better understand what hooks are (in an OOP analogy), imagine the Counter is a class, not a function. In pseudo-code the example above becomes:
class Counter(Component):
    count: state(0)

    def build(self):
        return Row(...)
Here, count is a field that holds the current counter state.
Hooks are a smart way to add state and behavior to functional, stateless-looking components. The idea is not unique to Flet; we borrowed it from React.
Flet offers the following built-in hooks:
use_state- Store local state across rebuilds.use_effect- Run side effects when something changes.use_context- Access shared data or services.use_memo- Memoize computed values.
Observable
Observables make the declarative UI approachable for newcomers compared to a purely React-style model. You can find observables in frameworks such as SolidJS, SwiftUI, and Jetpack Compose.
An observable is a reactive data holder that keeps your UI in sync automatically — whenever its value changes, the corresponding parts of the UI update instantly and efficiently.
There are two ways to make a class observable:
Inherit from ft.Observable:
@dataclass
class CounterState(ft.Observable):
    count: int
Apply ft.observable decorator:
@dataclass
@ft.observable
class CounterState:
    count: int
Observables fit nicely into Flet's declarative approach:
- A component that accepts an observable parameter automatically re-renders when that observable updates.
use_stateanduse_contexthooks that reference observables trigger a re-render when the observable changes.
Example:
import asyncio
from dataclasses import dataclass

import flet as ft

@dataclass
@ft.observable
class AppState:
    counter: float

    async def start_counter(self):
        self.counter = 0
        for _ in range(0, 10):
            self.counter += 0.1
            await asyncio.sleep(0.5)


@ft.component
def App():
    state, _ = ft.use_state(AppState(counter=0))

    return [
        ft.ProgressBar(state.counter),
        ft.Button("Run!", on_click=state.start_counter),
    ]

ft.run(lambda page: page.render(App))
Here, AppState is observable state, and whenever its counter property updates, the App component re-renders.
Compared to a pure React model, an observable makes life easier by allowing mutable state, while React assumes immutable state that must be replaced entirely to trigger a re-render.
For better performance, multiple updates to observable properties are coalesced, resulting in fewer UI updates when control returns to the UI loop.
Examples
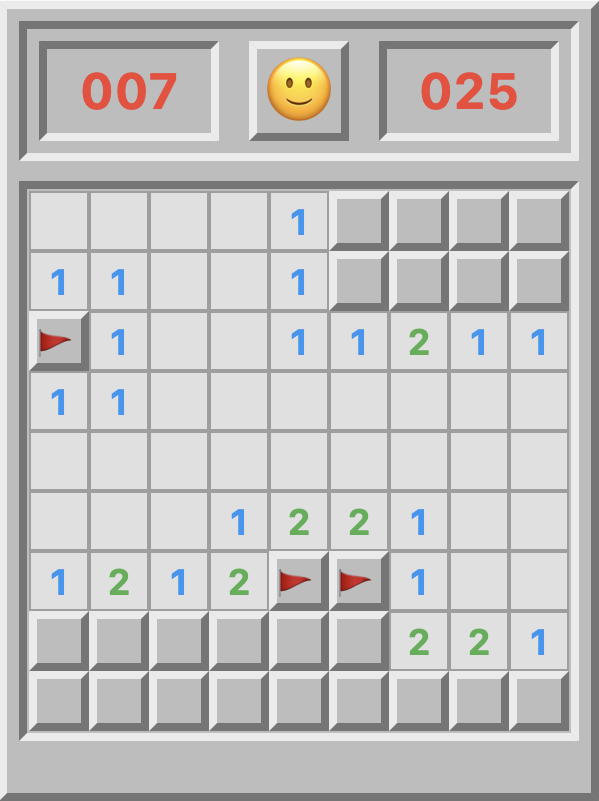
Explore the declarative examples collection to see the new approach in action — from the simple Counter and classic To-Do to games like Tic-Tac-Toe, Minesweeper, and Solitaire.
For a deeper dive, walk through the Declarative vs Imperative CRUD app cookbook.
FAQ
Do I need to rewrite my existing Flet apps in declarative style?
No! Flet supports both the current imperative approach and the new declarative approach.
Where are the StateView and ControlBuilder controls?
They are gone! They were in-place prototypes for the broader declarative concept. Mixing declarative and imperative styles in the same app caused issues.
Do I need to call update() in a declarative app?
No! In a declarative app a component is the unit of update. Whenever a component's parameters or state change, it re-renders automatically.
How do I access the page instance?
Use ft.context:
print(ft.context.page.web)
How do I call a control method?
Use an ft.Ref to get a reference to a control:
@dataclass
class State:
    txt_name: ft.Ref[ft.TextField] = field(default_factory=lambda: ft.Ref())

@ft.component
def App(state):
    return ft.TextField(ref=state.txt_name)
How do I use a TextField or other input control?
The recommended approach is to use "controlled" inputs, where controls keep their state in the app's state:
from dataclasses import dataclass
from typing import cast

import flet as ft


@dataclass
@ft.observable
class Form:
    name: str = ""

    def set_name(self, value):
        self.name = value

    async def submit(self, e: ft.Event[ft.Button]):
        e.page.show_dialog(
            ft.AlertDialog(
                title="Hello",
                content=ft.Text(f"Hello, {self.name}!"),
            )
        )

    async def reset(self):
        self.name = ""


@ft.component
def App():
    form, _ = ft.use_state(Form())

    return [
        ft.TextField(
            label="Your name",
            value=form.name,
            on_change=lambda e: form.set_name(e.control.value),
        ),
        ft.Row(
            cast(
                list[ft.Control],
                [
                    ft.FilledButton("Submit", on_click=form.submit),
                    ft.FilledTonalButton("Reset", on_click=form.reset),
                ],
            )
        ),
    ]


ft.run(lambda page: page.render(App))
Here, the value of TextField is stored in state.name, and the on_change handler keeps it in sync.
Call to action
Try the new Flet declarative approach in the latest 0.70.0.dev releases and let us know what you think!
While we update the docs to cover declarative programming in more depth, we encourage you to check the React introduction and try the Tic-Tac-Toe tutorial. It's not Python, but the JavaScript is simple to follow.
We built a similar declarative Tic-Tac-Toe Flet app that you can compare with its React counterpart as you work through the tutorial.
The next stop is the Flet 1.0 Beta release. We're almost there — new docs (you can follow their progress here), more integration tests, and plenty of polish are underway.
Happy Fletting!