Packaging desktop app
You can now use flet build command to package your Flet app into executable or install bundle for
macOS, Windows and Linux.
flet build does not longer rely on PyInstaller like flet pack does, but uses Flutter SDK to produce a fast, offline, fully customizable (your own icons, about dialog and metadata) executable for Windows, Linux and macOS with Python runtime embedded into executable and running in-process.
Flet Python app and all its dependencies can be packaged into an executable and user can run it on their computer without installing a Python interpreter or any modules.
Flet wraps PyInstaller API to package Flet Python app and all its dependencies into a single package for Windows, macOS and Linux. To create Windows package, PyInstaller must be run on Windows; to build Linux app, it must be run on Linux; and to build macOS app - on macOS.
Start from installing PyInstaller:
pip install pyinstaller
Navigate to the directory where your .py file is located and build your app with the following command:
flet pack your_program.py
Your bundled Flet app should now be available in dist folder. Try running the program to see if it works.
On macOS:
open dist/your_program.app
on Windows:
dist\your_program.exe
on Linux:
dist/your_program
Now you can just zip the contents of dist folder and distribute to your users! They don't need Python or Flet installed to run your packaged program - what a great alternative to Electron!
By default, an executable/bundle has the same name as a Python script. You can change it with --name argument:
flet pack your_program.py --name bundle_name
Customizing package icon
Default bundle app icon is diskette which might be confusing for younger developers missed those ancient times when floppy disks were used to store computer data.
You can replace the icon with your own by adding --icon argument:
flet pack your_program.py --icon <your-image.png>
PyInstaller will convert provided PNG to a platform specific format (.ico for Windows and .icns for macOS), but you need to install Pillow module for that:
pip install pillow
Packaging assets
Your Flet app can include assets. Provided app assets are in assets folder next to your_program.py they can be added to an application package with --add-data argument, on macOS/Linux:
flet pack your_program.py --add-data "assets:assets"
On Windows assets;assets must be delimited with ;:
flet pack your_program.py --add-data "assets;assets"
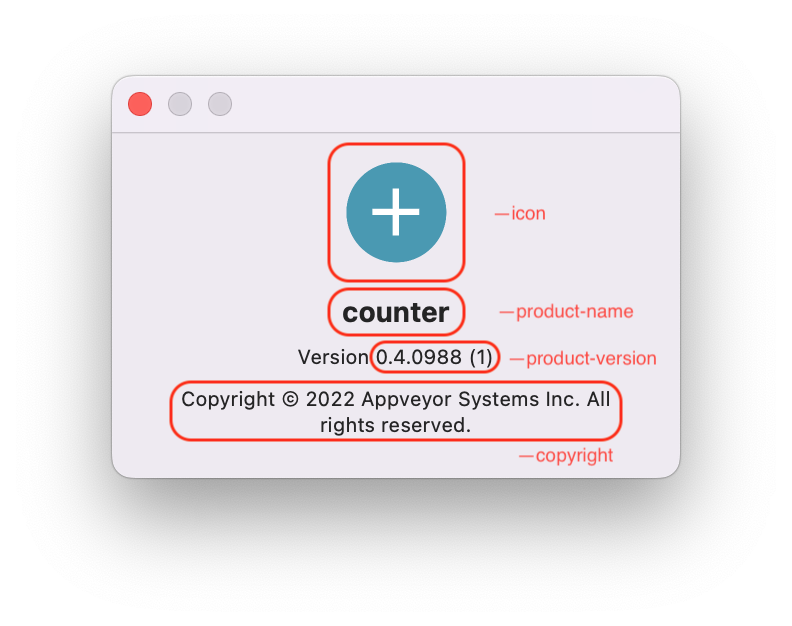
Customizing macOS bundle
macOS bundle details can be customized with the following flet pack macOS-specific arguments:
--product-name- display name of macOS bundle, shown in Dock, Activity Monitor, About dialog.--product-version- bundle version shown in "About" dialog.--copyright- copyright notice shown in "About" dialog.--bundle-idunique bundle ID.
Customizing Windows executable metadata
Windows executable "Details" properties dialog can be customized with the following flet pack arguments:
--product-name- "Product name" field.--product-version- "Product version" field.--file-version- "File version" field.--file-description- "File description" field, also program display name in Task Manager.--copyright- "Copyright" field.
Using CI for multi-platform packaging
To create an app package with PyInstaller for specific OS it must be run on that OS.
If you don't have an access to Mac or PC you can bundle your app for all three platforms with AppVeyor - Continuous Integration service for Windows, Linux and macOS. In short, Continuous Integration (CI) is an automated process of building, testing and deploying (Continuous Delivery - CD) application on every push to a repository.
AppVeyor is free for open source projects hosted on GitHub, GitLab and Bitbucket. To use AppVeyor, push your app to a repository within one of those source-control providers.
AppVeyor is the company behind Flet.
To get started with AppVeyor sign up for a free account.
Click "New project" button, authorize AppVeyor to access your GitHub, GitLab or Bitbucket account, choose a repository with your program and create a new project.
Now, to configure packaging of your app for Windows, Linux and macOS, add file with the following contents into the root of your repository appveyor.yml. appveyor.yml is a build configuration file, or CI workflow, describing build, test, packaging and deploy commands that must be run on every commit.
You can just fork flet-dev/python-ci-example repository and customize it to your needs.
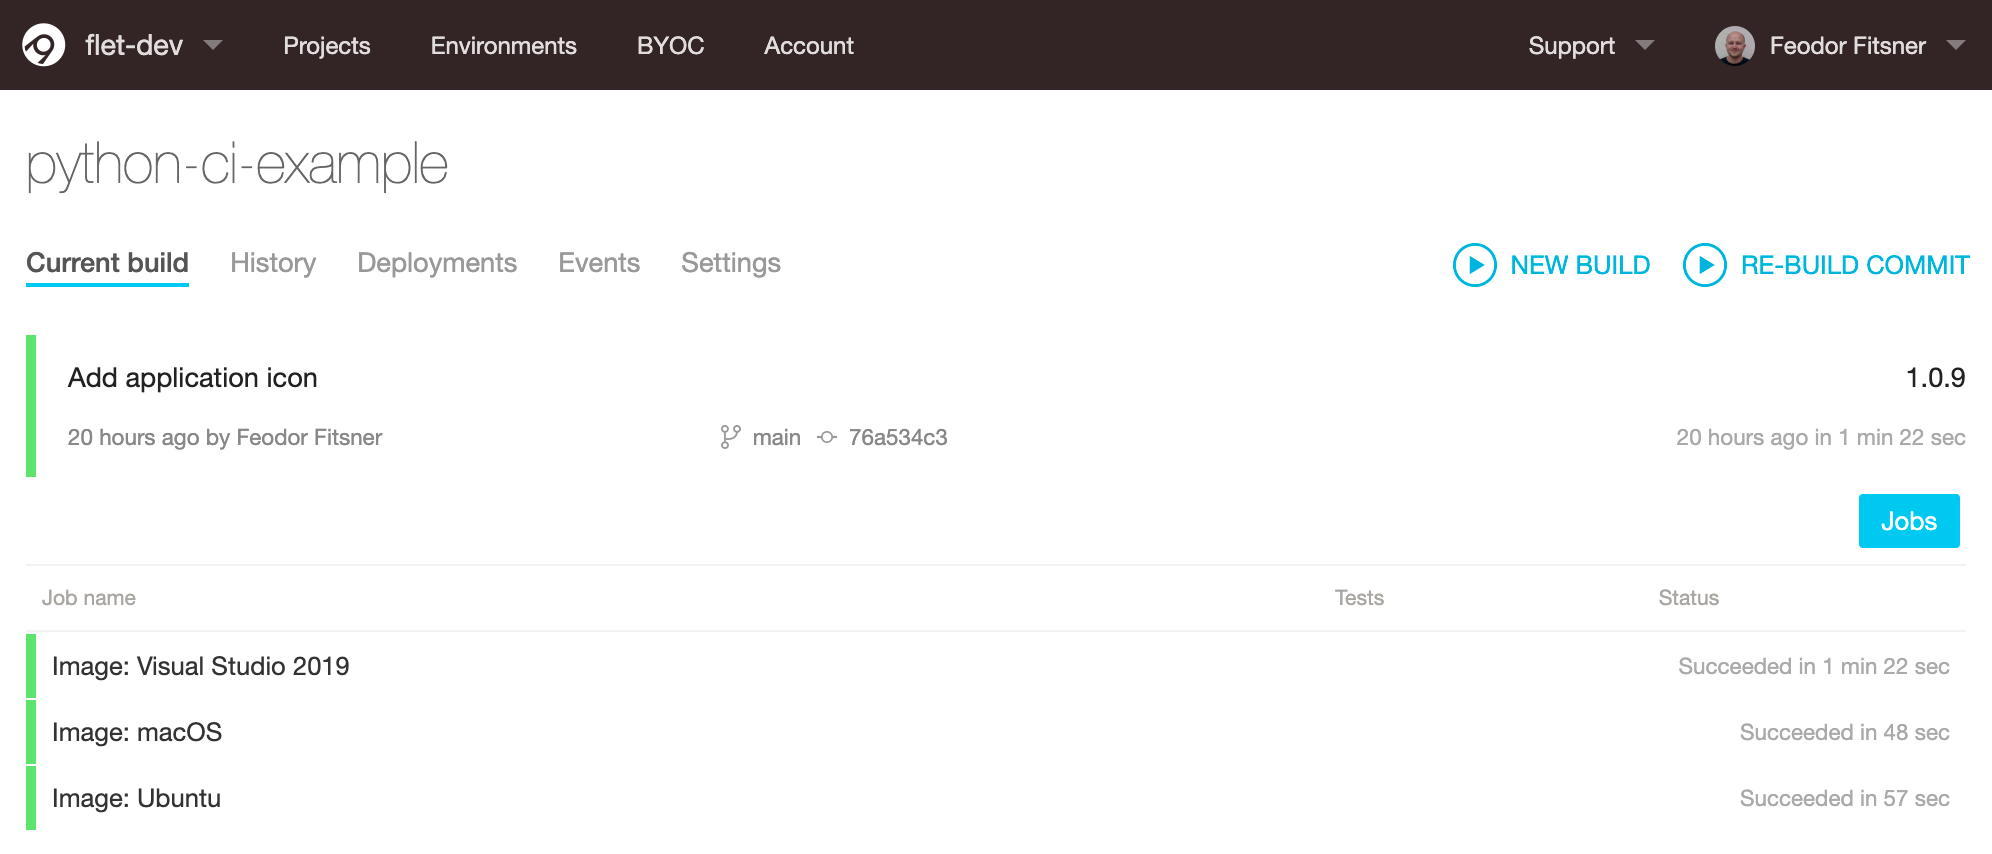
When you push any changes to GitHub repository, AppVeyor will automatically start a new build:
What that CI workflow does on every push to the repository:
- Clones the repository to a clean virtual machine.
- Installs app dependencies using
pip. - Runs
flet packto package Python app into a bundle for Windows, macOS and Ubuntu. - Zip/Tar app bundles and uploads them to "Artifacts".
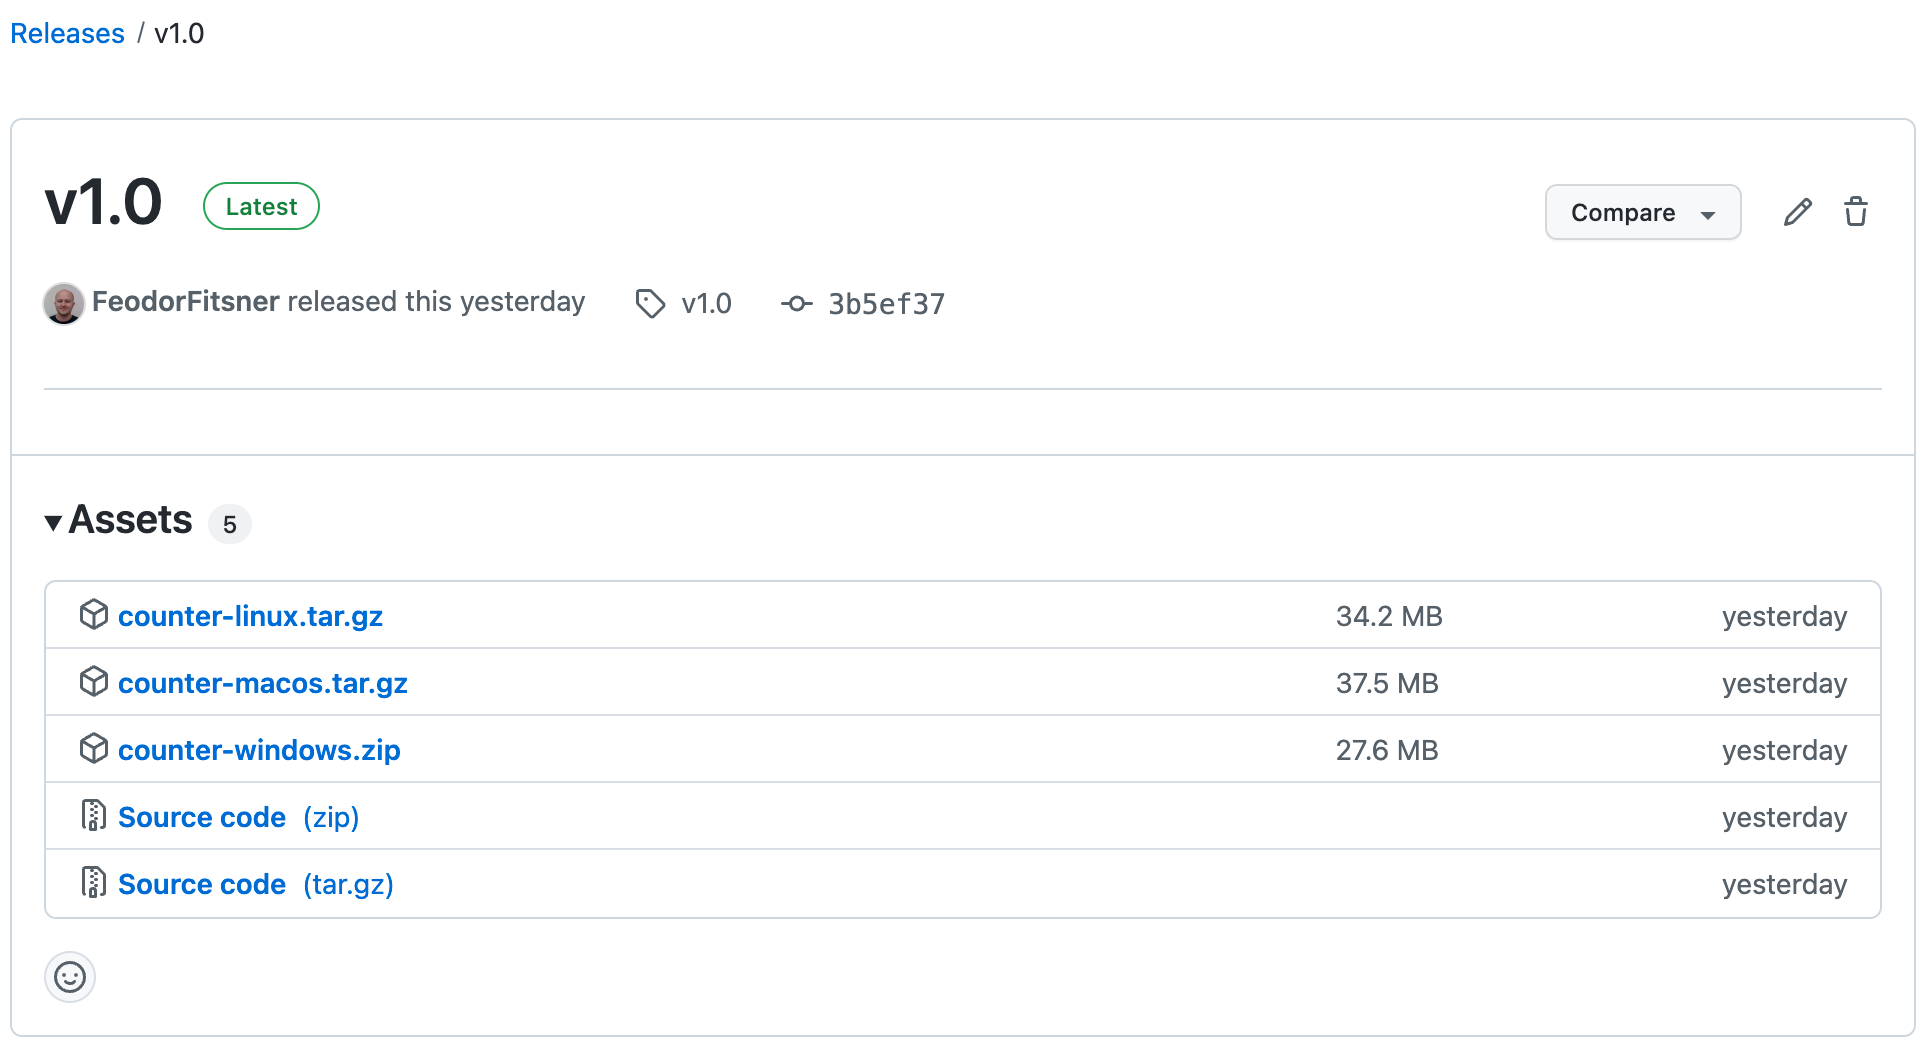
- Uploads app bundles to GitHub releases when a new tag is pushed. Just push a new tag to make a release!
GITHUB_TOKEN in appveyor.yml is a GitHub Personal Access Token (PAT) used by AppVeyor to publish created packages to repository "Releases". You need to generate your own token and replace it in appveyor.yml. Login to your GitHub account and navigate to Personal access token page. Click "Generate new token" and select "public_repo" or "repo" scope for public or private repository respectively. Copy generated token to a clipboard and return to AppVeyor Portal. Navigate to Encrypt configuration data page and paste token to "Value to encrypt" field, click "Encrypt" button. Put encrypted value under GITHUB_TOKEN in your appveyor.yml.
Configure AppVeyor for your Python project, push a new tag to a repository and "automagically" get desktop bundle for all three platforms in GitHub releases! 🎉
In addition to GitHub Releases, you can also configure releasing of artifacts to Amazon S3 bucket or Azure Blob storage.